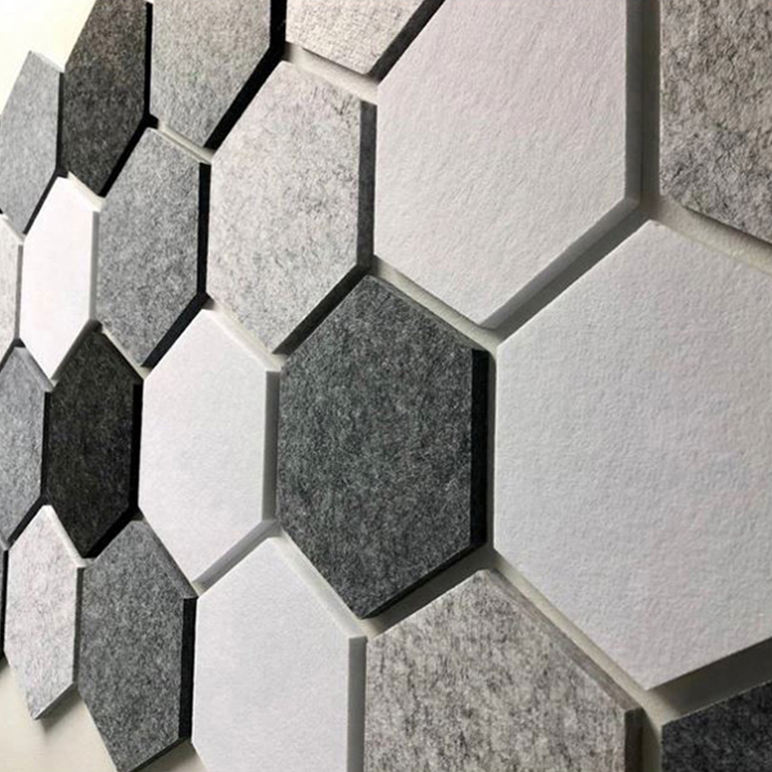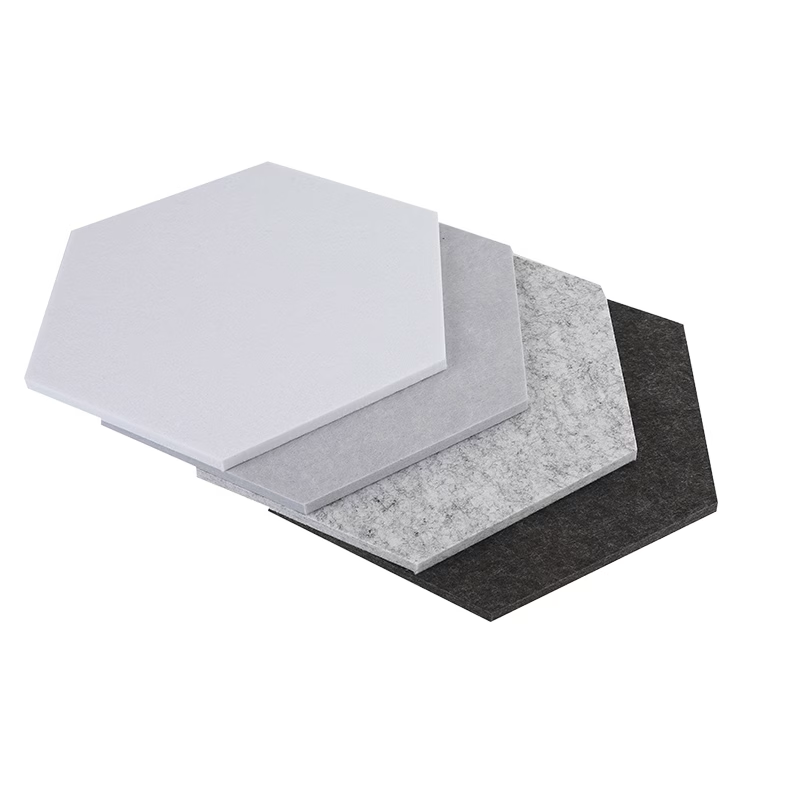


Plan a Hexagon Wall Tile Layout Before Ordering
Hexagon acoustic wall tiles combine a geometric wall finish with a sound-absorbing material. Their pattern can be continuous, arranged in small clusters or built around a colour gradient. For a project order, approve the layout and physical samples together: a pleasing pattern does not by itself establish how much acoustic treatment a room needs.
This guide focuses on layout and colour planning. Compare the wider PET acoustic panel range before choosing a flat or relief profile.
1. Set the Boundary and Orientation
Measure the usable wall, including sockets, switches, skirting and furniture. Draw the tile outline to scale and confirm whether the hexagon is measured across its flats or its points. Those dimensions are different, so a single nominal size is not enough to calculate rows reliably.
Choose a flat-top or point-top arrangement, then mark the centreline and intended outer edge. A complete honeycomb cluster produces a different boundary from a rectangular field with cut tiles. Review both options before deciding where the pattern ends.
- Keep small cut pieces away from prominent edges.
- Allow access to electrical fittings and maintenance panels.
- Check how the pattern meets doors, corners and adjacent finishes.
- Include intentional gaps in the drawing rather than estimating them during installation.
2. Build a Colour Schedule
Use physical samples under the room’s actual lighting. Screen colours and photographs help with shortlisting, but do not replace approval of the supplied material. Assign a code to each colour and show its location on a numbered elevation.
For a gradient, count each colour separately. For repeated modules, check that the repeat still works at the wall edges. Confirm whether relief tiles have an orientation that changes their appearance under side lighting; rotate a sample before approving the arrangement.

3. Calculate Quantities from the Drawing
Count whole and cut tiles by colour from the approved elevation. Do not divide wall area by the tile’s rectangular bounding box: that box includes space outside the hexagon. Ask the supplier for the actual face area and packing quantity, and agree a spare allowance based on cutting, damage risk and future replacements.
The order schedule should identify tile code, dimensions, thickness or profile depth, colour, quantity and drawing revision. Record which spare tiles belong to each finish so maintenance teams can identify them later.
4. Coordinate Installation and Acoustic Coverage
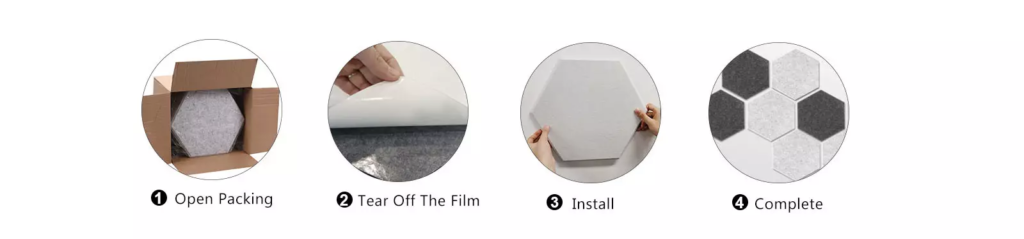
Check the substrate and fixing method specified for the selected tile. The illustration below is a planning reference; adhesive compatibility, surface preparation and curing requirements must match the actual product and wall. A decorative cluster may leave much of a room untreated, so assess coverage separately from the visual pattern.
Sound absorption helps manage reflected sound inside a room; it does not establish sound isolation through a partition. Read our explanation of absorption, isolation and acoustic test data. Request the report for the exact material, thickness and mounting arrangement before specifying performance.
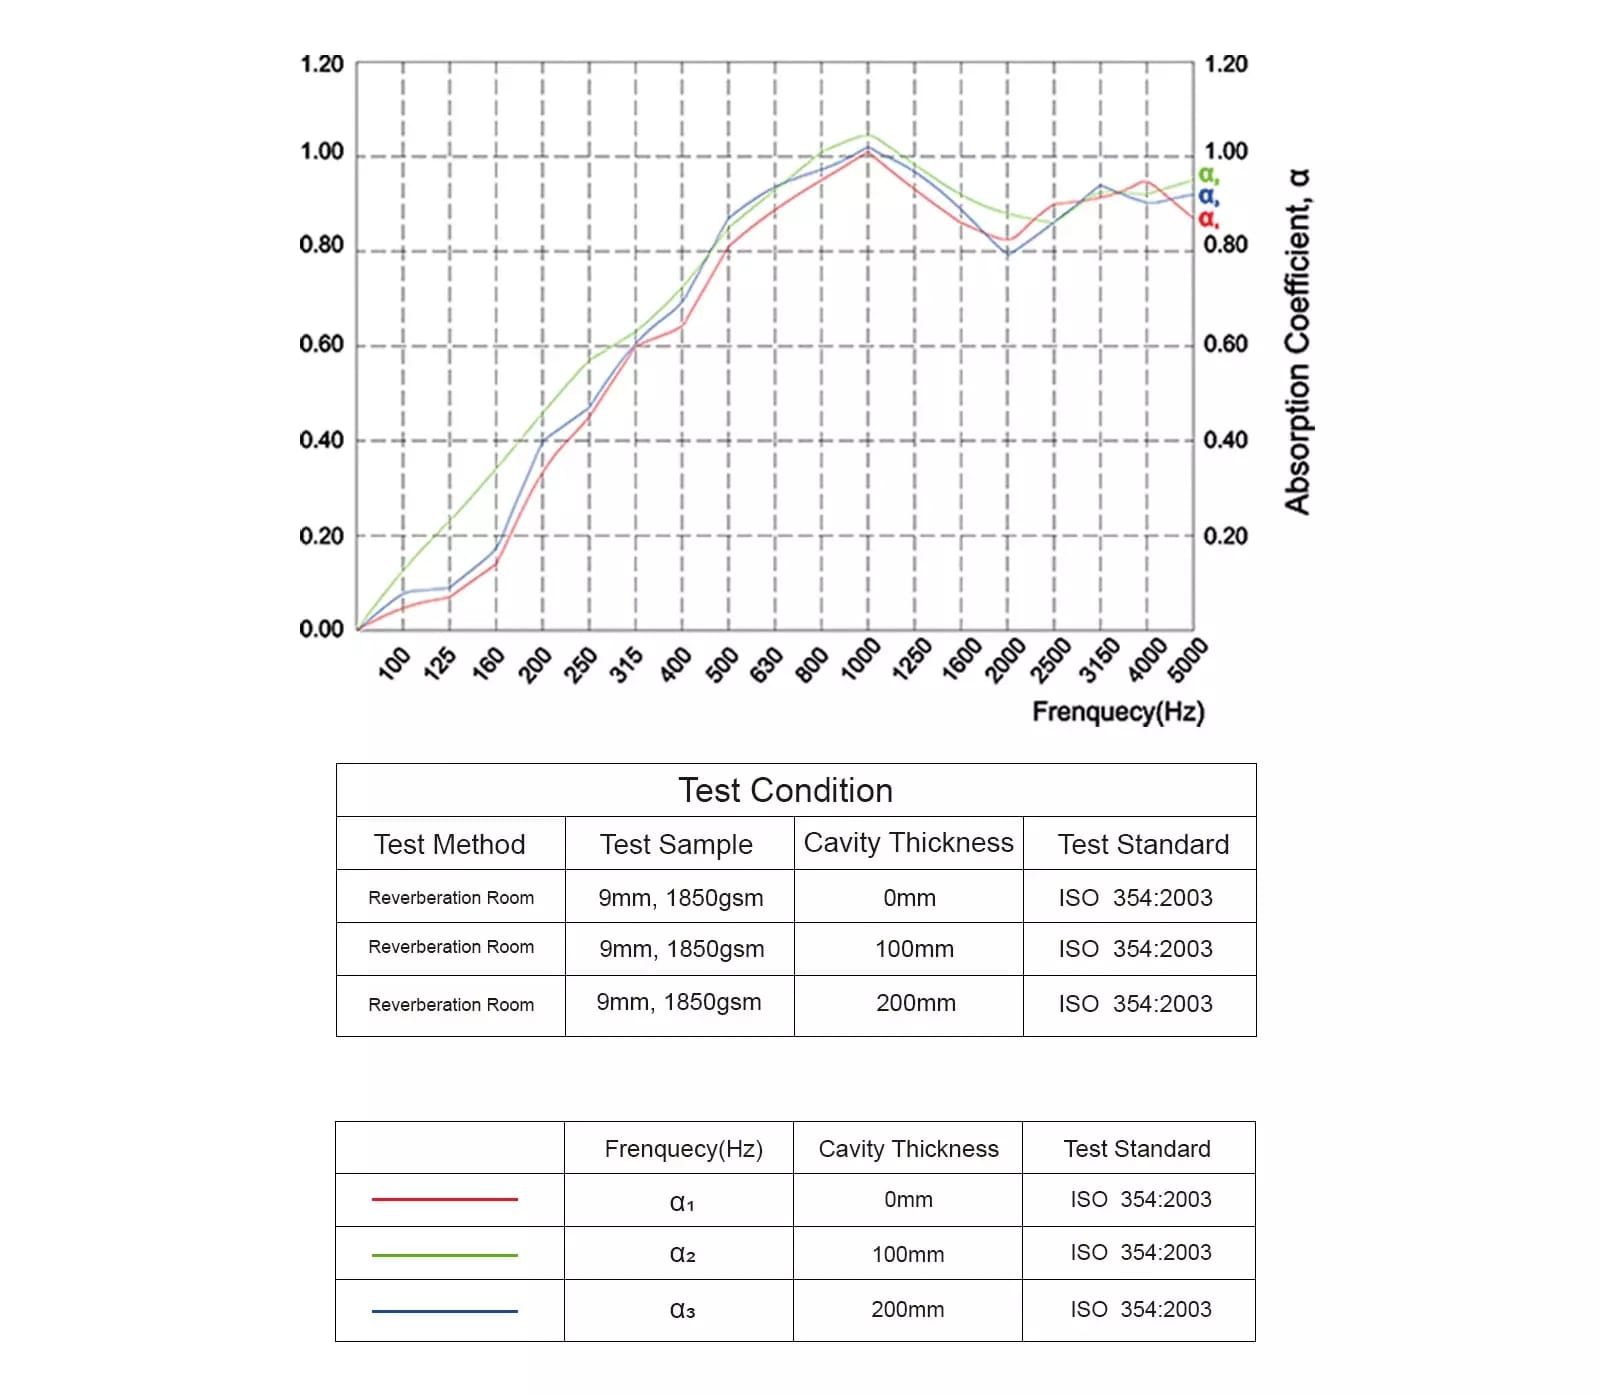
The acoustic illustration is not a universal rating for every hexagon tile or installation. Confirm its applicability with the corresponding test report.
Colour Reference and Sample Approval
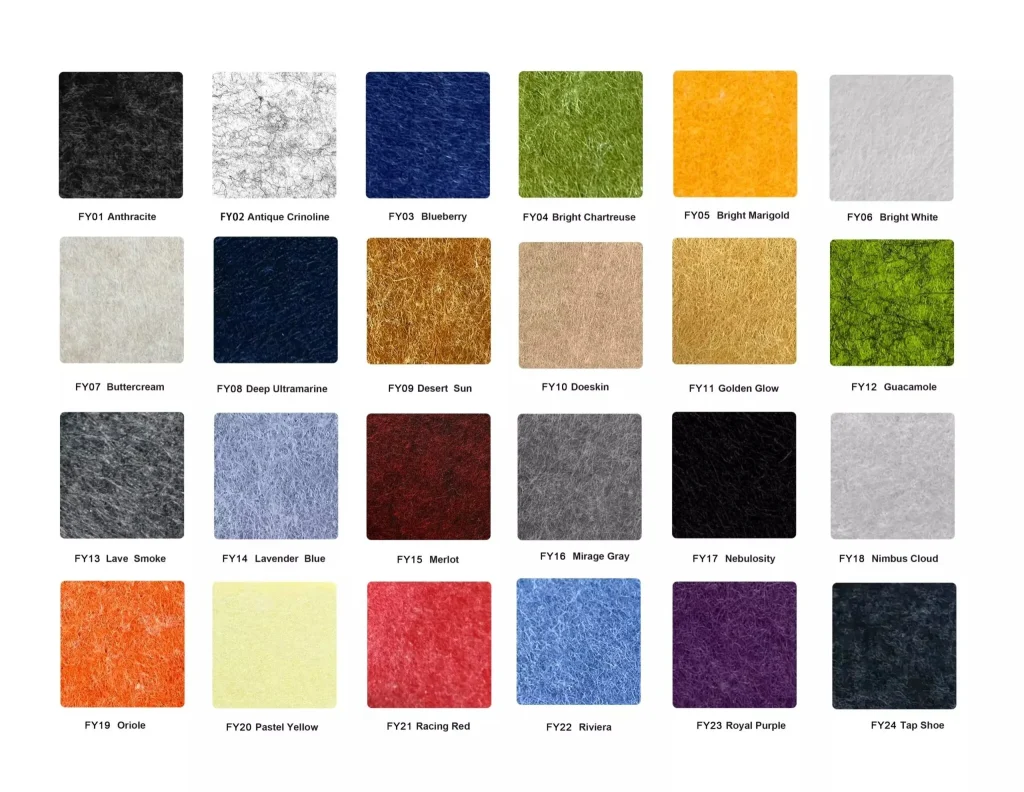
Confirm available colours, batch expectations and sample approval before placing a bulk order. Keep one approved sample with the project record.
Questions to Resolve Before Ordering
Can I mix different hexagon sizes?
Only after checking their geometry in a scaled layout. Different nominal sizes may not join into a continuous pattern, and differences in thickness can change the visible edge.
Should the whole wall be covered?
That depends on the room and acoustic objective. A complete wall finish and a decorative cluster are different design choices; neither guarantees a particular room result without assessing the space.
What should I send for a quotation?
Send wall dimensions, the colour-coded elevation, intended use, quantity and delivery destination. Include required documentation and fixing constraints. Request a project quotation with these details so the proposal can match your layout.