


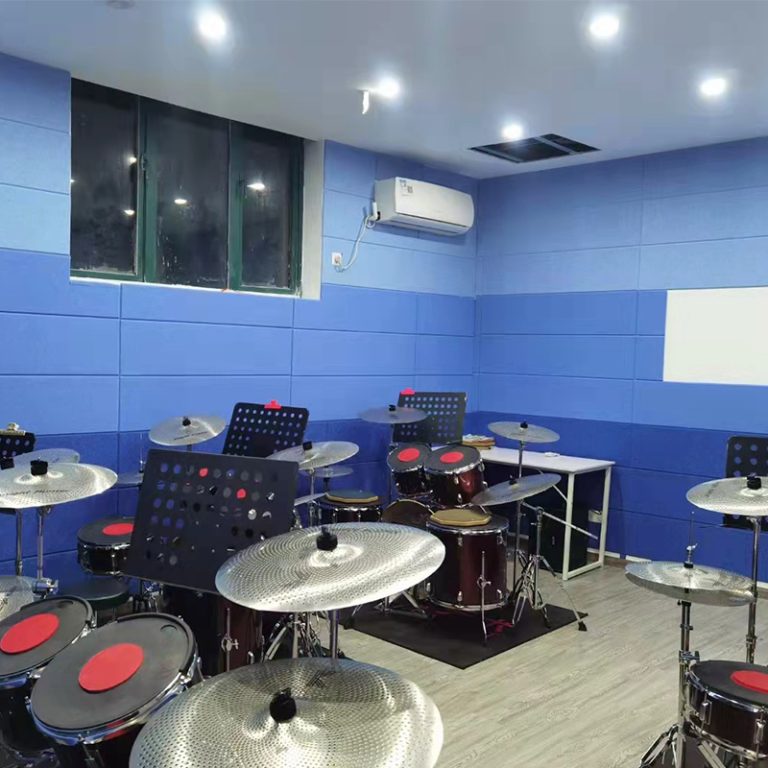

How to Install Seninpanel Acoustic wall Panels: Expert Guide
Category
PET Aaoustic Panels
Acoustic polyester panels reduce noise by 85%—eco-friendly, LEED-certified & fire-safe. Ideal for studios, offices, hospitals. Trust Seninpanel’s sustainable, durable solutions. Global shipping & custom designs available.
Poor acoustics cost offices 42 minutes of productivity daily (Gensler), while 80% of remote workers cite noise as their top distraction. Installing Seninpanel acoustic pet panels—engineered from 100% recycled polyester fibers—can slash noise by up to 28dB while enhancing aesthetics. This guide delivers pro techniques for flawless, high-performance installations.

Table of Contents
Why Seninpanel PET wall Panels?
As global demand for Class A fire-rated acoustic solutions surges, Seninpanel’s acoustic felt wall panels dominate with:
NRC 0.90 Sound Absorption: Superior to fiberglass (NRC 0.65) in blocking voices and mid-frequency noise.
Eco-Certified: GREENGUARD Gold, LEED v4.1, and Cradle-to-Cradle Silver compliance.
Architectural Flexibility: Available in 50+ colors and custom sizes (300x300mm to 2400x1200mm).
Pre-Installation Preparation
Surface Readiness
Clean substrates with neutral detergent to remove dust/oil.
Repair cracks >3mm wide using acoustic sealant (tested to ASTM E413).
Humidity check: Ensure <70% RH for adhesive curing.
Toolkit Essentials
Laser level for ±0.5mm alignment precision.
Stainless-steel utility knife (replace blades every 10 cuts).
Low-VOC adhesive with 45-minute open time (ideal for large panels).
7-Step Installation Protocol
Step 1: Strategic Layout Planning
Use AutoCAD or a laser measurer to map panel positions, avoiding HVAC vents or conduits.
Pro Tip: Offset vertical joints by 300mm in ceiling installations to prevent sound flanking.
Step 2: Precision Cutting
Score panels with a straightedge and knife (15° blade angle for clean edges).
For curves, use a jigsaw with fine-tooth blade (2,000+ RPM).
Step 3: Adhesive Application
Apply construction-grade adhesive in “S” patterns (70% coverage) using a 3mm notched trowel.
For ceilings >3m height, combine adhesive with 6mm stainless screws (every 600mm).
Step 4: Panel Placement
Press panels using a rubber mallet for even pressure distribution.
Immediate alignment check: 2mm maximum gap tolerance.
Step 5: Expansion Management
Maintain 1.5mm perimeter gaps for thermal movement (critical in climates with ±30°C swings).
Seal edges with acoustic caulk (STC-rated).
Step 6: Post-Installation QA
Conduct tap tests: Hollow sounds indicate poor adhesion (re-glue within 2 hours).
Infrared thermography to detect air leaks.
Step 7: Custom Finishing
Apply magnetic veneers for dynamic branding in offices.
Integrate LED coving for hybrid acoustic-lighting systems.
Critical Mistakes to Avoid
Over-Adhesive Application: Causes “telegraphing” (visible bumps).
Ignoring Load Limits: Ceiling panels >15kg/m² require secondary support.
Painting Panels: Reduces NRC by 0.30; use factory-colored options instead.
FAQs: Solving Real-World Challenges
Q: Can the panels be painted?
A: While technically possible, painting is not recommended. Factory-applied finishes optimize sound absorption (NRC 0.90). DIY painting may reduce acoustic performance by up to 30%.
Q: How to clean stained panels?
A: Wipe gently with a microfiber cloth and neutral detergent. Avoid abrasive cleaners to preserve surface integrity.
Q: Are these panels DIY-friendly?
A: Yes—pre-cut sizes and tool-free click systems simplify installations. Seninpanel offers free digital templates for complex layouts.
Conclusion
Mastering Seninpanel PET panel installation empowers architects and facility managers to transform noise-ridden spaces into productivity hubs. With 10-year performance warranties and 24/7 technical support, Seninpanel delivers acoustic excellence from blueprint to final inspection.