

Specify the Relief, Not Just the Hexagon Shape
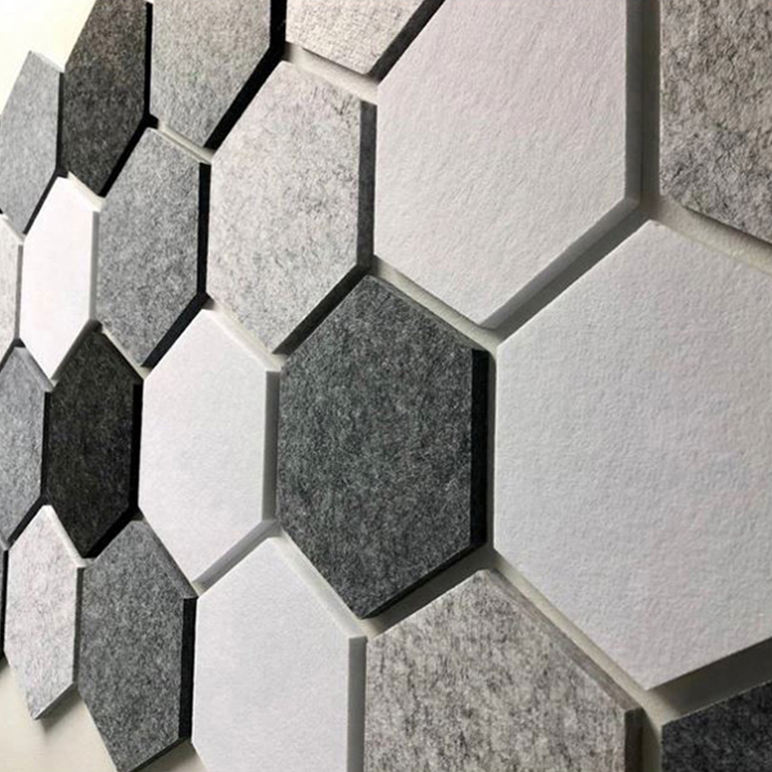
A hexagon 3D acoustic wall panel adds a shaped surface to a geometric wall layout. Before ordering, compare the profile in section as well as from the front. Two tiles with a similar outline can differ in projection, edge detail and installation requirements.
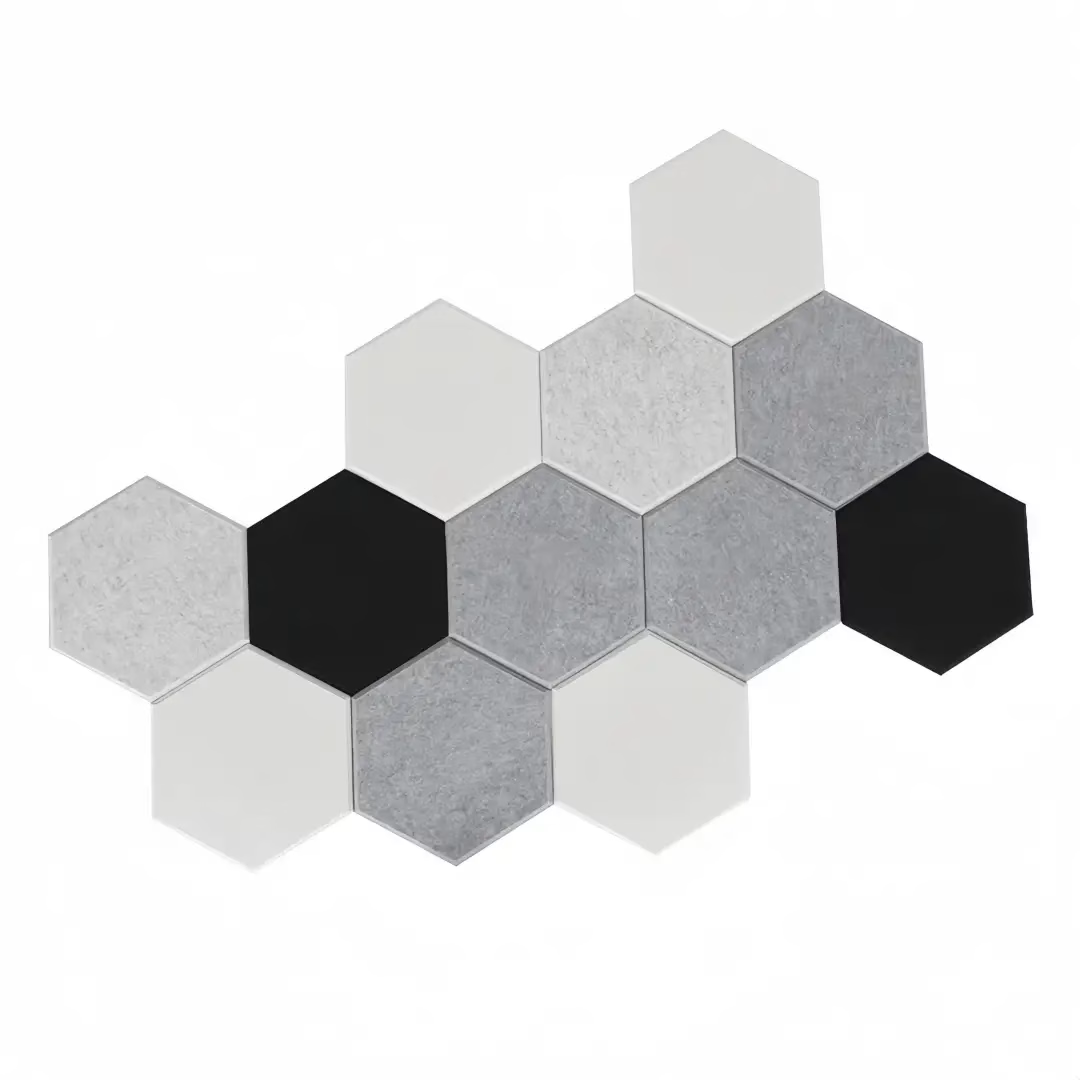
Use this guide to coordinate relief, lighting and clearances. For colour counts and pattern boundaries, see our hexagon wall tile layout guide.
Separate Sheet Thickness from Finished Depth
Ask for a dimensioned drawing showing face width, height, material thickness and maximum projection from the finished wall. Do not assume that a quoted sheet thickness equals the overall depth of a formed panel. Confirm whether the measurement includes a backing, adhesive or mounting system.
| Detail to approve | Why it matters |
|---|---|
| Module dimensions and tolerance | Controls how adjacent tiles meet and how the pattern ends. |
| Maximum finished projection | Helps coordinate doors, furniture and circulation space. |
| Profile orientation | Determines the intended pattern and shadow direction. |
| Edge and corner detail | Shows whether exposed edges are acceptable or need a separate finish. |
| Mounting method | Defines substrate preparation and replacement access. |

Use the product illustration as a reference and confirm the current dimensions for the selected model in the quotation.
Review a Mock-up Under the Actual Lighting
Relief surfaces can look different under broad ambient light and light arriving along the wall. A colour that appears uniform face-on may show stronger light and dark areas on angled faces. Approve several adjacent tiles together, at the intended orientation, rather than judging one loose sample.
Include the proposed light position and viewing distance in the review. Check visible seams, repeating patterns and the appearance of cut edges. Photograph the approved arrangement for installation reference, while retaining the physical sample as the colour standard.

Coordinate Clearances and Maintenance
Check the complete wall build-up against door swings, cupboard doors, seating and equipment. Keep sockets and inspection covers accessible. Shelves, screens and other equipment should use suitable supports connected to the wall structure; decorative tiles should not be treated as structural supports.
Consider how cleaners will reach the profile and how a damaged tile could be replaced. Ask for product-specific cleaning instructions and test any proposed cleaning method on a spare piece. Agree spare quantities and colour identification before handover.
Confirm the Wall and Fixing System
The wall must be suitable for the selected mounting method. Inspect for loose finishes, uneven areas and moisture problems before installation. Confirm the adhesive or mechanical fixing requirements with the supplier; a self-adhesive backing, when offered, does not establish compatibility with every painted surface.
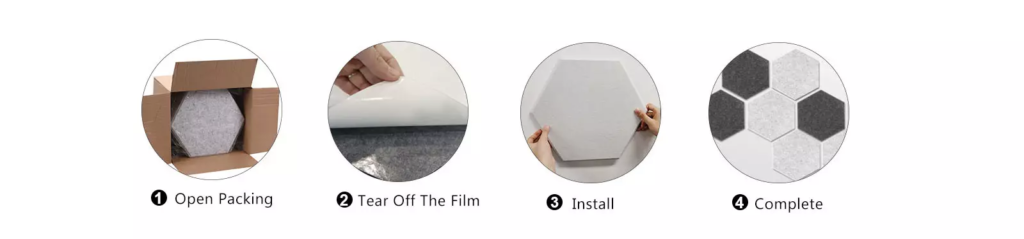
The installation illustration does not replace the instructions for the supplied tile and substrate. Coordinate corner details and the starting line before fitting the full wall.
Check Evidence for the Selected Profile
A three-dimensional shape is not proof of a particular absorption or diffusion rating. Ask for the acoustic report and check the tested product, mounting arrangement and coverage. Fire classification and emissions documentation must also match the intended product and use; avoid transferring claims from a different material or model.
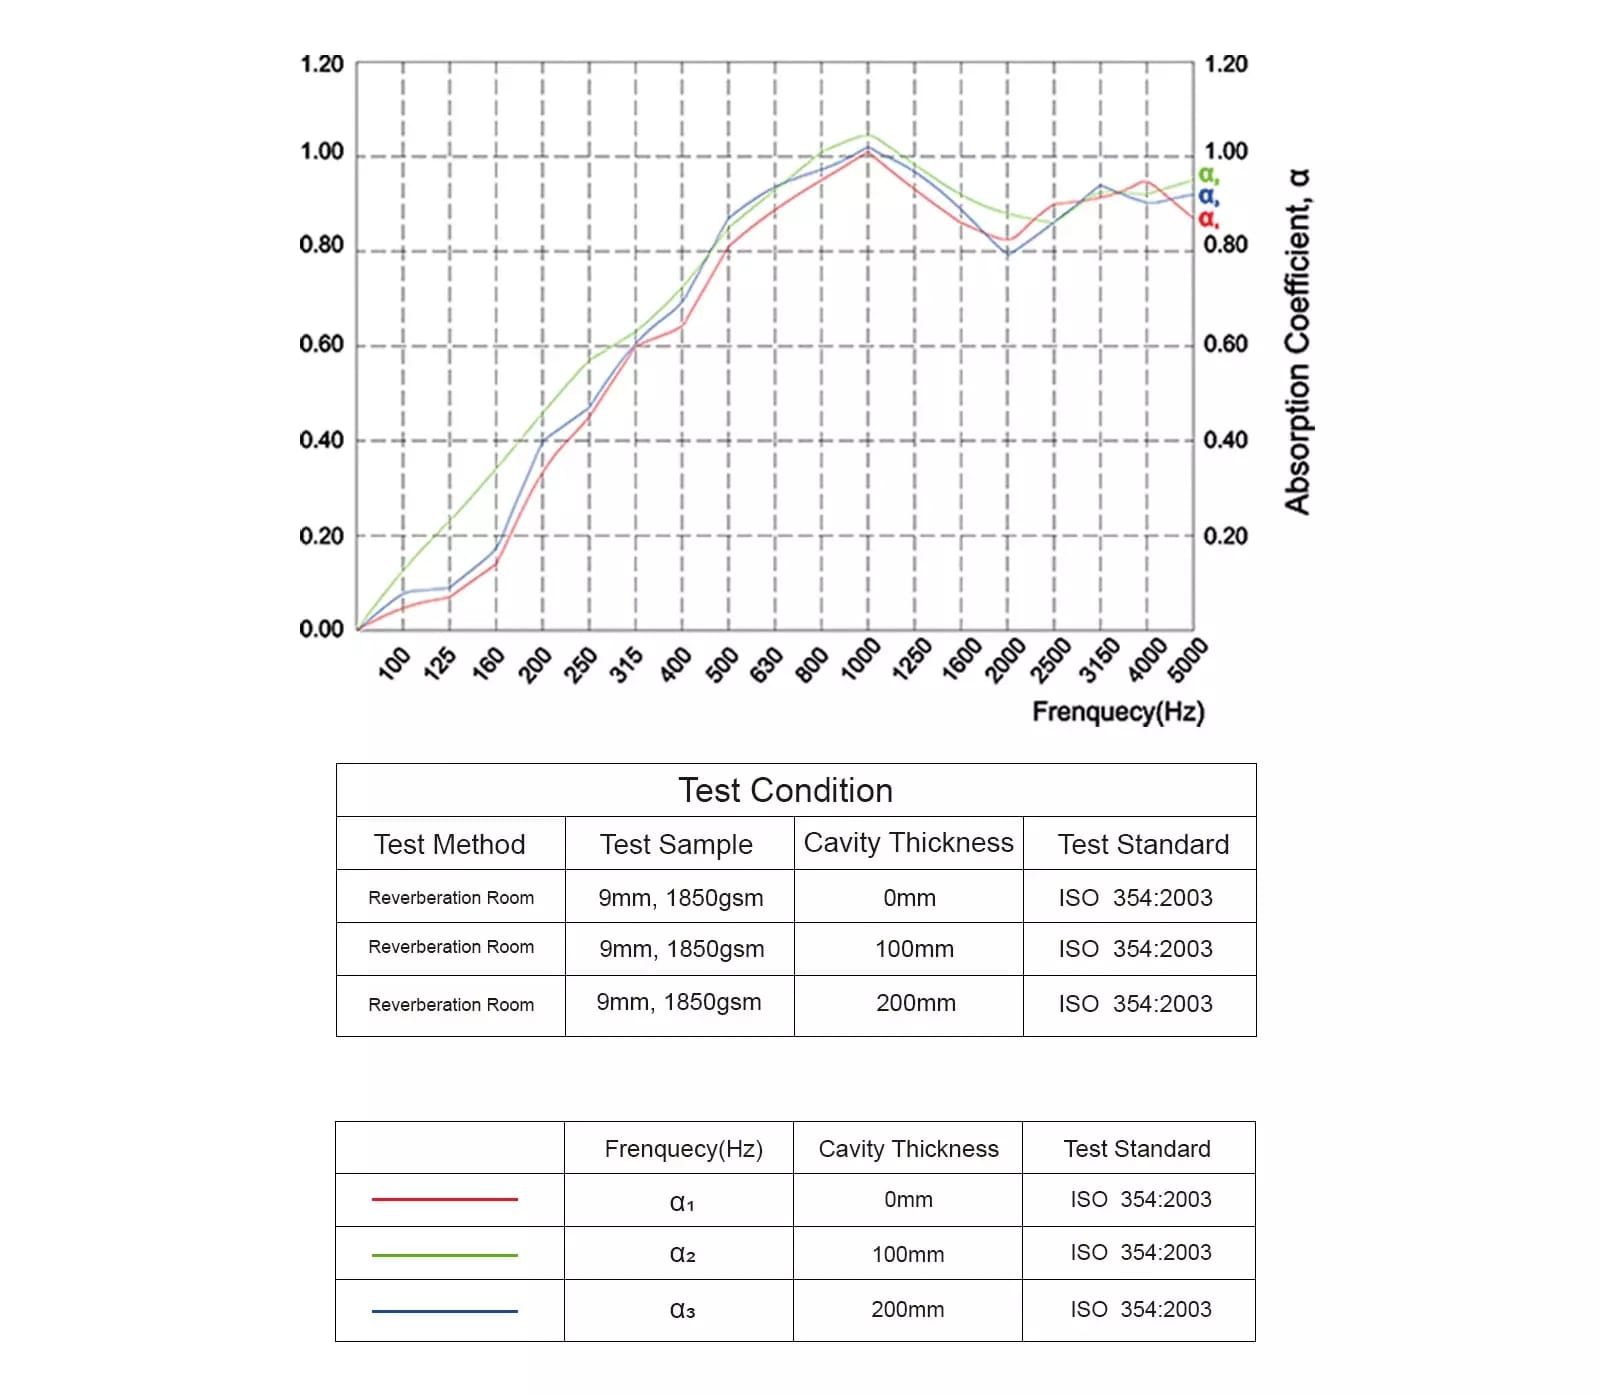
Confirm that the illustrated acoustic data apply to your chosen profile and installation before including them in a project specification.
Our PET 3D panel specification guide explains the wider approval process. The PET acoustic panel range provides a starting point for product enquiries.
Approve Colour and Order Details
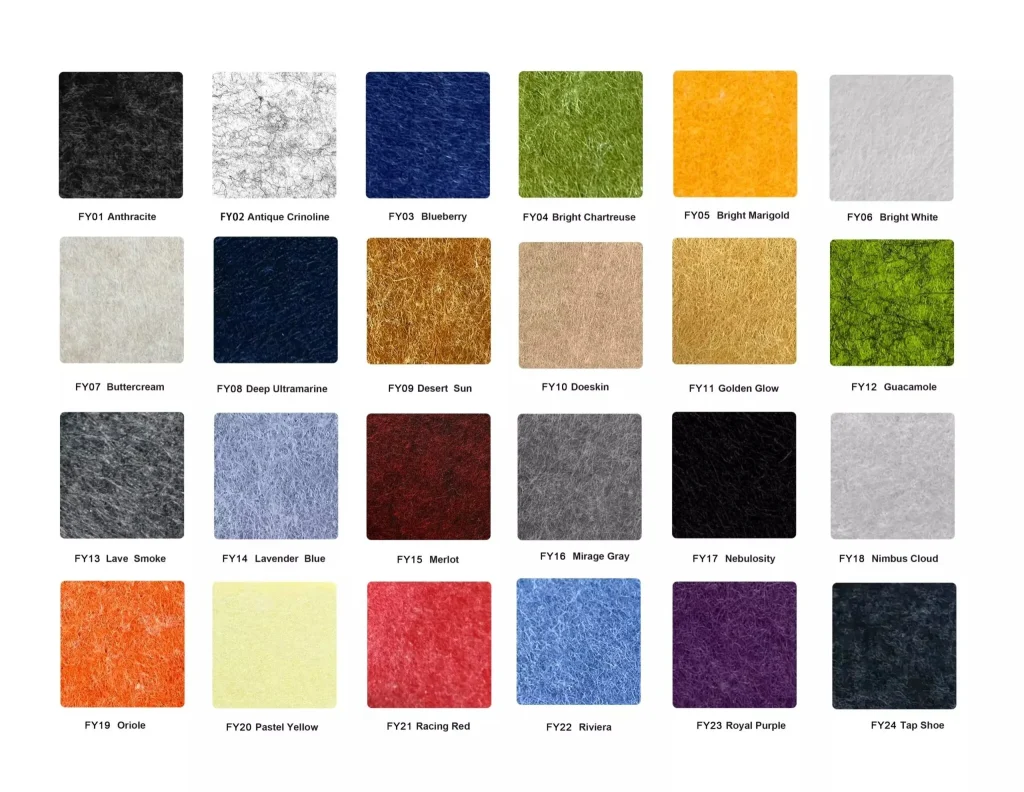
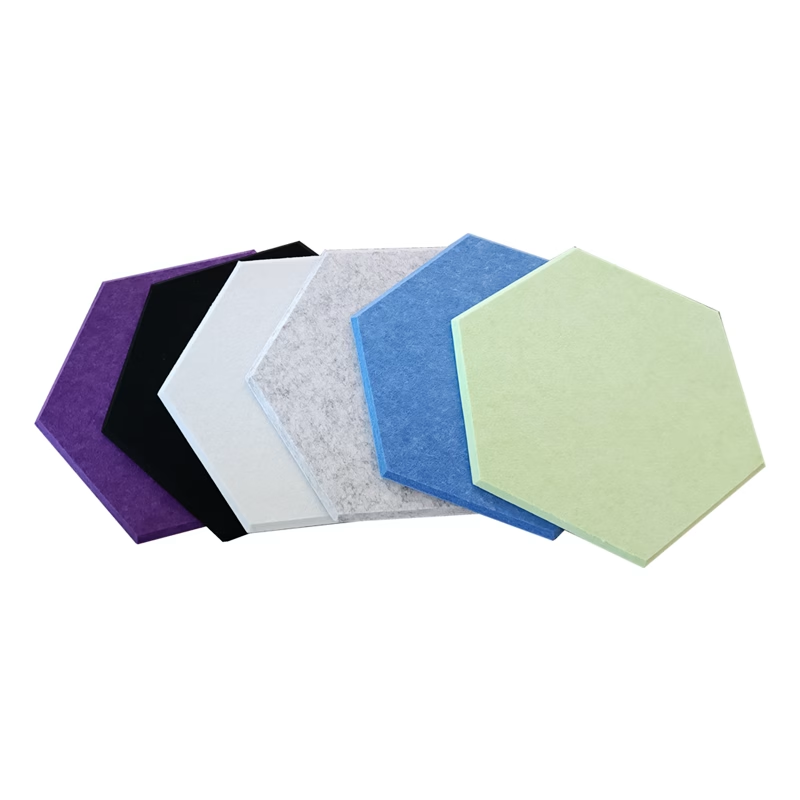
Confirm colour availability with physical samples. Include the selected profile code, dimensioned elevation, orientation, fixing method and delivery destination in the order enquiry.
Does a deeper profile always absorb more sound?
No. Performance depends on the material and complete installation, not visual depth alone. Compare applicable test results rather than selecting by appearance.
Can the tiles be rotated to make a new pattern?
Review a mock-up and the manufacturer’s installation requirements first. Rotation can change the shadows and edge relationships, even when the outline remains the same.
Send your drawings and sample requirements to discuss a project-specific proposal.