

Hexagon Acoustic Panel Installation: A Project Checklist
A neat hexagon wall depends on preparation, an approved layout and a fixing method suitable for the wall and tile. This checklist helps coordinate the work; use the current installation instructions for the exact supplied product to determine adhesives, fixings and curing conditions.
1. Confirm the Product and Wall Conditions
Check the delivered model, dimensions, profile, colour and quantity against the approved order before cutting or fixing. Inspect packages for damage and record any concerns while the tiles remain identifiable.
Examine the wall for moisture, loose paint, dust and uneven areas. Resolve the cause of dampness rather than covering it with panels. Confirm the substrate and its finish with the installer and adhesive supplier; a product suitable for one wall may not bond reliably to another.

Confirm current model dimensions and mounting requirements against the supplied product documentation.
2. Approve the Setting-out Drawing
Mark a level reference line and a vertical datum using suitable measuring tools. Do not assume a floor, ceiling or corner is straight enough to serve as the only guide. Lay out a sample group before fixing to check orientation, colour sequence and joint appearance.
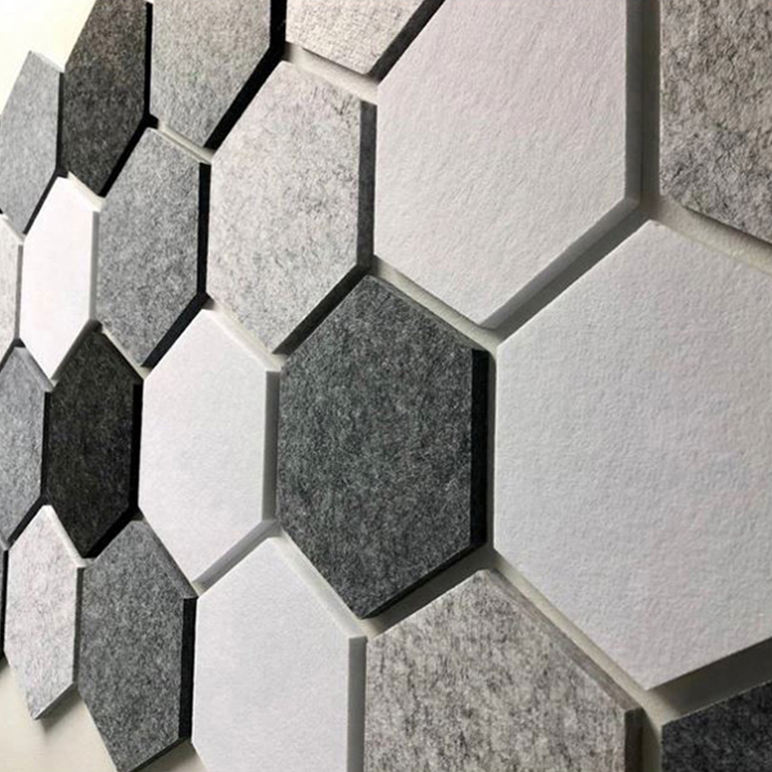
Show doors, sockets, access panels and the finished boundary on the drawing. For a staggered hexagon pattern, review the first and last rows together so the layout does not end with unintended small pieces. See the hexagon tile layout and colour guide for planning quantities and edges.
3. Verify the Fixing Method on a Sample Area
Confirm whether the selected tile uses adhesive, a backing system or mechanical fixings. Follow the specified preparation, application and curing instructions rather than substituting a generic glue or tape. If a self-adhesive version is supplied, check its approved substrates and conditions.
Trial the proposed method on an appropriate sample area and agree acceptance with the installer. Do not infer long-term bond suitability from an immediate hand-pressure check. Where mechanical fixings are required, check the substrate and loading requirements before drilling.
4. Fit in a Controlled Sequence
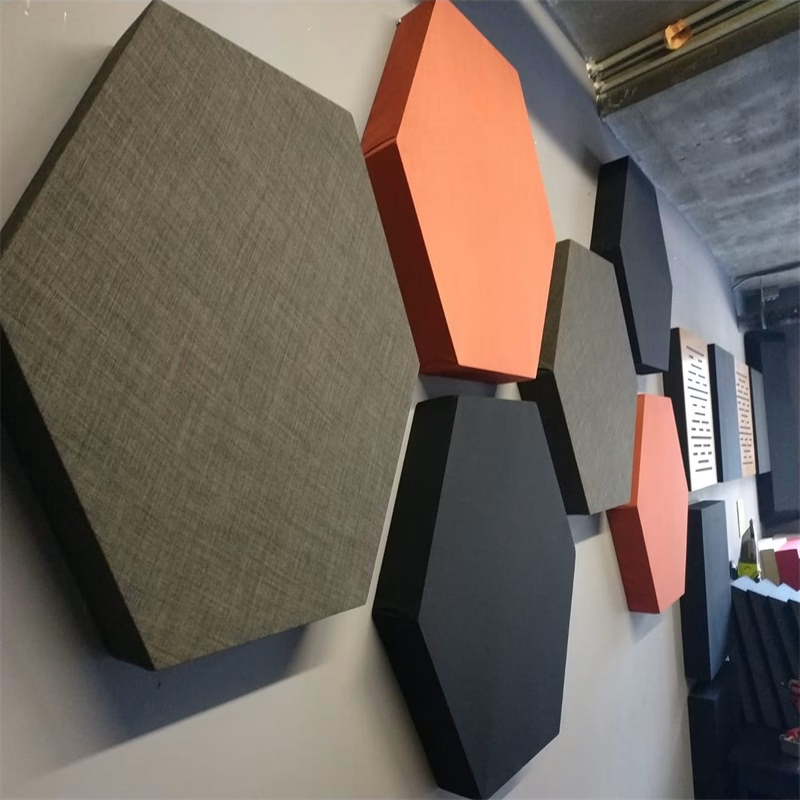
Work from the approved datum and check alignment frequently. Confirm the next tile’s colour and orientation before applying it, particularly where a relief profile creates directional shadows. Use the tools and cutting method recommended for the material, with a stable work surface and appropriate protection.
- Keep access covers and electrical fittings usable.
- Coordinate electrical work with an appropriately qualified person.
- Support shelves and equipment through suitable structural fixings, not through the decorative tile alone.
- Remove adhesive residue only by an approved method.
- Follow the specified curing period before cleaning or loading nearby fittings.
5. Inspect and Record the Finished Wall
Review the wall under its intended lighting. Check the colour sequence, alignment, edge condition and securely fixed areas. Confirm that sockets, doors and service panels remain accessible and that the work matches the approved elevation.
Keep the product code, colour record, fixing information and care instructions with the handover documents. Label spare tiles by batch or finish where available. Discuss how replacements will be removed and installed without unnecessary damage to adjacent panels.
Acoustic and Other Performance Checks
Correct installation is also relevant to performance evidence. A test result may depend on the material, thickness, backing, air space and mounting arrangement. Confirm the report scope before claiming a rating for the finished wall.
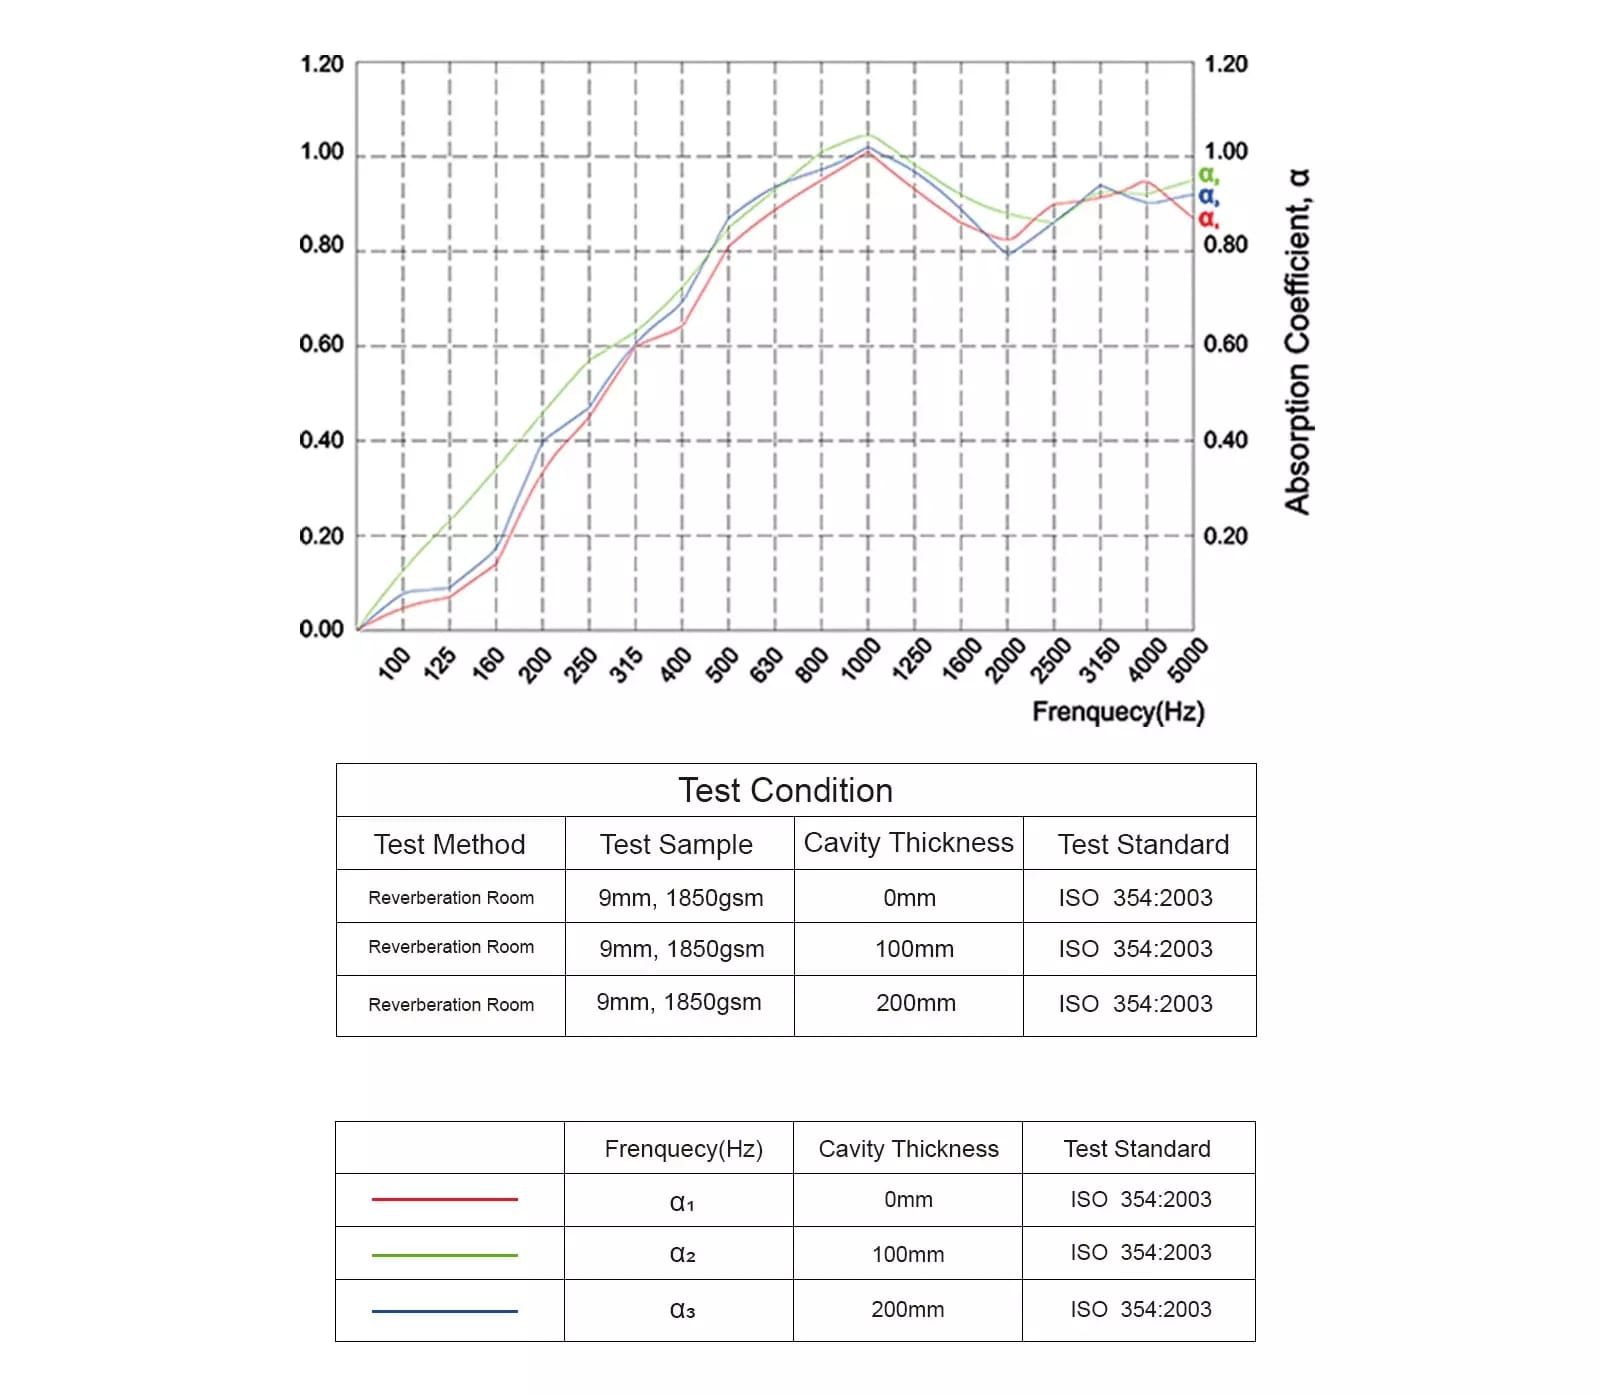
The illustration does not establish a rating for every hexagon product or fixing arrangement.
Review absorption versus sound isolation when defining the project’s acoustic objective. A decorative treatment should not be presented as a complete solution to noise transmission between rooms.
Common Installation Questions
Can I install tiles over existing wallpaper?
Only if the selected fixing system explicitly permits the complete substrate and finish. A bond to wallpaper can still fail if the wallpaper separates from the wall. Confirm preparation requirements before proceeding.
Can wall tiles be installed on a ceiling?
Do not assume a wall fixing method is approved overhead. Ask for a ceiling-suitable product and fixing specification for the actual location.
What information helps resolve an installation question?
Provide the product code, wall material, existing finish, layout, photographs and proposed fixing method. Contact Seninpanel with your project details or review the PET panel range.